
Welcome to the Panasonic Bread Maker Recipe Book PDF, your ultimate guide to mastering bread making. Discover recipes for classic white, whole wheat, and gluten-free loaves, along with specialized options like milk bread and pandan. Learn tips for perfect results, troubleshooting common issues, and maintaining your machine for long-lasting performance.
1.1 Overview of the Panasonic Bread Maker
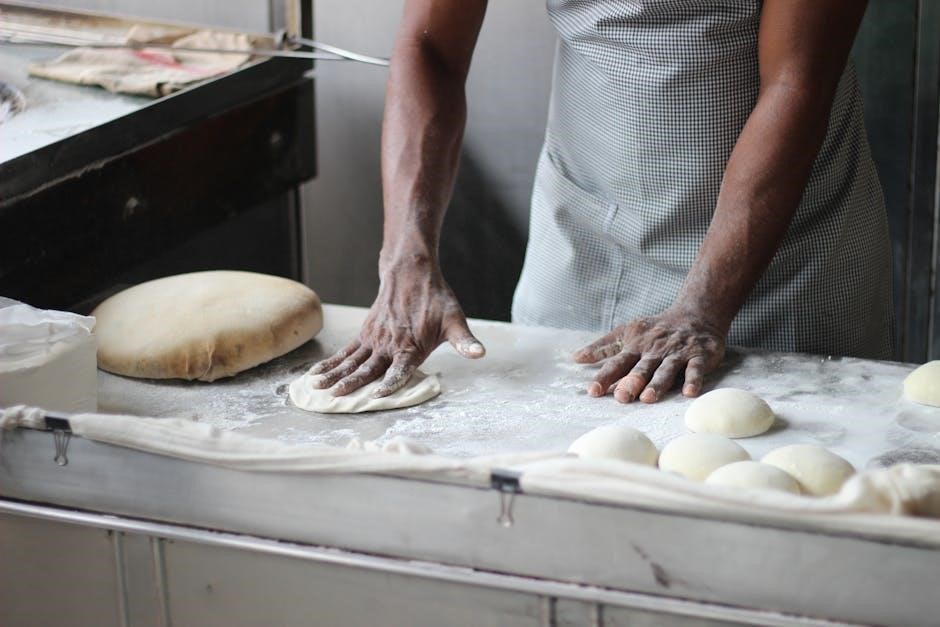
The Panasonic Bread Maker is a versatile and user-friendly appliance designed to simplify bread making at home. With its advanced automation and precise temperature control, it ensures consistent results for various types of bread. Whether you’re making classic white, whole wheat, or specialized loaves like gluten-free or milk bread, the machine offers customizable settings to cater to your preferences. Its intuitive interface and durable construction make it a reliable choice for both novices and experienced bakers.
Featuring multiple programs and a built-in timer, the Panasonic Bread Maker allows for flexibility in creating homemade bread with minimal effort. Its compact design and quiet operation further enhance its appeal, making it a practical addition to any kitchen.
1.2 Importance of Using a Recipe Book for Bread Makers
Using a recipe book specifically designed for bread makers is essential for achieving optimal results. It provides detailed instructions tailored to your machine’s capabilities, ensuring consistent and delicious outcomes. A dedicated recipe book offers a variety of tried-and-tested recipes, from classic white bread to gluten-free and milk bread, helping you explore diverse flavors. Additionally, it includes troubleshooting tips and customization ideas, allowing you to adapt recipes to your preferences. The structured approach of a recipe book ensures you understand the importance of ingredient ratios and timing, which are crucial for bread making. This resource is perfect for both beginners and experienced bakers, guiding you to create high-quality bread effortlessly.
1.3 Benefits of the Panasonic Bread Maker Recipe Book PDF
The Panasonic Bread Maker Recipe Book PDF offers a wealth of benefits for both novice and experienced bakers. It provides a comprehensive guide to making perfect bread, with recipes tailored to your machine’s specifications. The PDF includes detailed instructions for various bread types, ensuring consistent results. It also features troubleshooting tips to address common issues like wet or dry dough, helping you achieve the perfect loaf every time. Additionally, the book offers customization ideas, allowing you to experiment with flavors and ingredients; Its organized format and clear instructions make it easy to follow, ensuring a seamless bread-making experience. This resource is a must-have for anyone looking to master the art of bread making with their Panasonic bread maker.

Basic Bread Recipes
Discover essential recipes like classic white bread, whole wheat, and sourdough starter. These simple yet rewarding recipes are perfect for beginners and form the foundation for more complex creations.
2.1 Classic White Bread Recipe
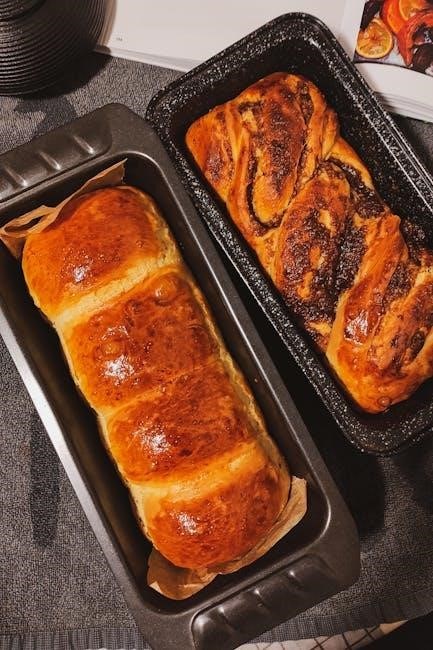
The classic white bread recipe is a timeless favorite, offering a light and fluffy texture with a golden crust. Using 600g of strong white bread flour, 1 sachet of easy-blend yeast, 1 tsp sugar, and 1 tsp salt, this recipe is simple yet rewarding. Add 350ml of water and 1 tbsp of oil to the Panasonic bread maker. Select the basic white bread setting and let the machine handle the mixing, kneading, and baking. Perfect for sandwiches or toast, this recipe ensures consistent results. The machine’s precise temperature and timing guarantee a perfectly risen loaf every time, making it a staple for any home baker.
2.2 Whole Wheat Bread Recipe
The whole wheat bread recipe is a delicious and healthier option, perfect for those seeking more fiber. Using 600g of whole wheat flour, 1 sachet of easy-blend yeast, 1 tsp sugar, and 1 tsp salt, this recipe yields a light and fluffy loaf. Add 350ml of water and 1 tbsp of oil to the Panasonic bread maker. The machine’s precise settings ensure the dough is mixed and kneaded to perfection, resulting in a well-risen loaf with a nutty flavor. Ideal for sandwiches or toast, this recipe is a favorite for its wholesome goodness. The Panasonic bread maker simplifies the process, delivering consistent results every time, making it a great choice for health-conscious bakers.
2.3 Sourdough Starter Recipe
Creating a sourdough starter is a foundational step for artisanal bread making. In a clean, 400-500ml glass jar, combine 30g flour and 30g warm water, mixing until smooth. Cover and let it rest at room temperature for 24-48 hours to activate natural yeasts. Feed the starter with equal parts flour and water daily for 5-7 days to strengthen it; Once bubbly and active, it’s ready to use. The Panasonic bread maker’s dough setting can help proof the starter perfectly, ensuring a tangy, authentic flavor. This process requires patience but yields a unique, homemade sourdough experience. Regular feeding and care will keep your starter vibrant for future recipes.
Specialized Bread Recipes
3.2 Milk Bread Recipe
A fluffy and pillowy texture achieved without Tangzhong starter. Perfect for sandwiches or toast, this recipe yields soft, milky bread, ideal for Panasonic bread makers;
3.1 Gluten-Free Bread Recipe
Discover the best gluten-free bread recipe for your Panasonic bread maker, perfect for soft sandwiches and toast. This recipe stays fresh for days and is easy to follow. Use a combination of rice flour, tapioca flour, and xanthan gum for the right texture. The sourdough starter is optional but adds a tangy flavor. Simply combine 30g flour and 30g warm water in a clean jar for the starter. The bread maker simplifies the process, ensuring a light and fluffy loaf. Follow the machine’s settings for gluten-free options and enjoy a delicious, fresh bread without gluten. Perfect for those with dietary restrictions!

Experience the softness and fluffiness of milk bread with this easy Panasonic bread maker recipe. Unlike traditional recipes requiring Tangzhong starter, this method simplifies the process while maintaining a pillowy texture. Perfect for those who love the milky aroma, this recipe yields a light and delicious loaf. The Panasonic bread maker’s settings ensure even proofing and baking. With its warming function, your bread stays fresh and ready to serve. Ideal for sandwiches or toast, this Hokkaido-inspired milk loaf is a delightful addition to your bread-making repertoire. Enjoy the convenience and flavor of homemade milk bread with minimal effort and maximum satisfaction.
3.3 Pandan Loaf Recipe
Discover the vibrant flavor of Southeast Asia with the Pandan Loaf Recipe, specifically designed for your Panasonic bread maker. This fragrant and aromatic bread is infused with the unique taste of pandan extract, creating a delightful twist on traditional loaves. Simple yet flavorful, this recipe requires minimal effort while delivering a moist and delicious result. The Panasonic bread maker’s precise temperature and timing settings ensure even proofing and baking, bringing out the best in the pandan flavor. For optimal results, use high-quality pandan extract to enhance the aroma and color. Perfect for both sweet and savory pairings, this pandan loaf is a great way to add variety to your bread-making repertoire and impress your family and friends with a tropical touch.

Customizing Your Bread
Personalize your bread by adjusting ingredients, adding herbs, spices, or mix-ins to create unique flavors. Experiment with diverse combinations to craft loaves that suit your taste preferences perfectly.
4.1 Adjusting Ingredients for Different Flavors
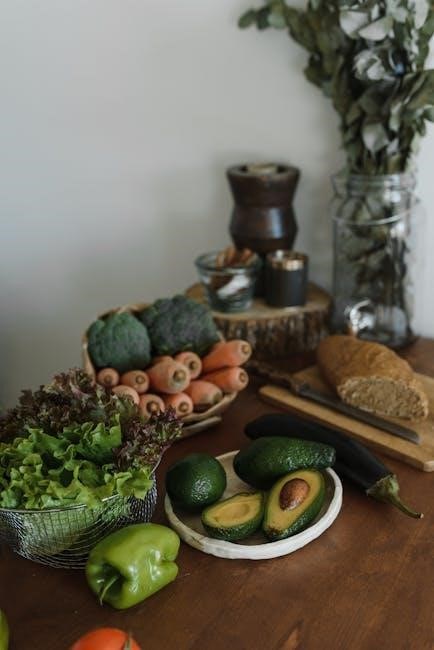
Customizing your bread recipes involves experimenting with ingredients to achieve unique flavors. Substitute all-purpose flour with whole wheat, rye, or gluten-free options for varied textures. Add herbs like rosemary or garlic for savory notes, or spices like cinnamon for sweet breads. Incorporate mix-ins such as nuts, seeds, or dried fruits to enhance taste and nutrition. For richer flavors, try adding milk, yogurt, or eggs. Adjust yeast and salt proportions to balance flavors without compromising rise. Explore international inspirations, like Japanese milk bread or Italian olive oil bread, by tweaking ingredients. Remember, small changes can lead to big differences in flavor and texture.
4.2 Tips for Achieving the Perfect Loaf
Achieving the perfect loaf requires attention to detail and understanding your bread maker’s capabilities. Always measure ingredients accurately, as even small deviations can affect results. Use fresh yeast and high-quality flour for optimal rise and flavor. Monitor the dough during the kneading cycle to ensure proper consistency—adjust with water or flour if needed. Preheat your machine and ensure it’s placed in a draft-free area for even baking. Utilize size settings wisely, as they control baking time and crust color. For a crispy crust, bake at higher temperatures, while lower settings yield softer bread. Allow the loaf to cool completely on a wire rack to prevent sogginess. Experiment with settings and recipes to tailor results to your preferences.
4.3 Adding Herbs, Spices, and Other Mix-Ins
Add herbs, spices, and mix-ins to elevate your bread’s flavor and texture. Fresh or dried herbs like rosemary, thyme, or oregano can add aromatic notes, while spices like cinnamon or nutmeg create sweet and savory variations. Nuts, seeds, or dried fruits also enhance texture and taste. Add ingredients during the dough phase or just before baking for optimal distribution. Use moderation to avoid overpowering the bread—start with small amounts and adjust to taste. For example, garlic and herbs pair well for a rustic loaf, while cinnamon and raisins create a sweet treat. Experiment with combinations to craft unique flavors, ensuring each addition complements the bread’s base ingredients for a balanced result.

Troubleshooting Common Issues
Identify and resolve common bread-making challenges, such as inferior results or dough consistency issues. Learn how to fix wet or dry dough and understand size settings for better outcomes.
5.1 Why Bread May Turn Out Inferior
Bread may turn out inferior due to several factors, including incorrect ingredient measurements, poor yeast quality, or improper temperature settings. Overmixing dough or using low-quality flour can also affect texture and rise. Additionally, insufficient kneading or uneven baking in the machine may lead to dense or misshapen loaves. Understanding these common pitfalls is key to achieving better results. By addressing these issues and adjusting recipes accordingly, users can enhance their bread-making experience and ensure consistent, high-quality outcomes with their Panasonic bread maker.
5.2 Fixing Dough That Is Too Wet or Too Dry
Dough that is too wet or too dry can be adjusted to achieve the perfect consistency. If the dough is too wet, add small amounts of flour (1 tablespoon at a time) until it becomes manageable. Conversely, if the dough is too dry, gradually add water (1 teaspoon at a time) until it reaches the desired texture. Ensure measurements are precise to avoid such issues. Environmental factors like humidity can also affect dough consistency. Regularly check the dough during the kneading cycle and adjust as needed. Proper adjustments will help create a smooth, elastic dough, leading to a well-risen and flavorful loaf. This step is crucial for achieving consistent results with your Panasonic bread maker.
5.3 Understanding Size Settings and Their Effects
Understanding the size settings on your Panasonic bread maker is essential for achieving perfectly baked loaves. The size settings determine the baking time and temperature, ensuring the bread is evenly cooked. Smaller settings are ideal for compact loaves, while larger settings accommodate bigger batches. Incorrect size settings can lead to undercooked or overcooked bread. Always align the size setting with the recipe’s dough quantity for optimal results. This feature ensures consistent baking performance, whether you’re making small rolls or large family loaves. Familiarize yourself with these settings to master the art of bread making and enjoy perfectly sized loaves every time.
Maintenance and Care
Regularly clean the bread maker’s pan and exterior with a damp cloth. Avoid abrasive cleaners to maintain the finish. Dry thoroughly after cleaning to prevent rust.
6.1 Cleaning and Maintaining Your Panasonic Bread Maker
Regular cleaning is essential to ensure your Panasonic bread maker performs optimally. After each use, remove the bread pan and kneading paddles, washing them with warm soapy water. These parts are often dishwasher-safe, but check your manual for confirmation. Wipe the machine’s exterior with a damp cloth, avoiding harsh chemicals that could damage the finish. For tougher dough residue, mix equal parts water and white vinegar in the pan and run a short cycle. Always dry the machine thoroughly after cleaning to prevent rust. Deep clean periodically by running a vinegar cycle or leaving a vinegar-soaked cloth inside overnight. Proper maintenance extends the life of your bread maker and ensures consistent baking results.
6.2 Extending the Life of Your Bread Maker
To extend the life of your Panasonic bread maker, regular maintenance and careful usage are crucial. Always unplug the machine when not in use and store it in a dry, cool place. Avoid exposing it to direct sunlight or extreme temperatures. Clean the machine thoroughly after each use, paying attention to the bread pan and kneading paddles, as leftover dough can harden and damage the parts. Descale the machine periodically if you live in an area with hard water, as mineral buildup can affect performance. Use the correct settings for the type of bread you’re making to avoid overloading the motor. Lubricate any moving parts if recommended by the manufacturer. By following these steps, you can ensure your bread maker remains in excellent condition for years to come.

Mastering bread making with your Panasonic bread maker is now within reach. Explore diverse recipes, customize flavors, and achieve consistent results. Happy baking and enjoy sharing your creations!
7.1 Final Tips for Mastering Bread Making
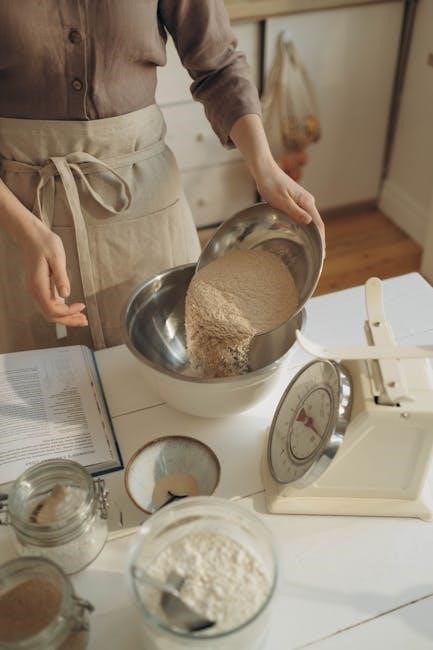
For consistent success, measure ingredients precisely using a digital scale. Monitor dough during the first mix cycle to adjust flour or water as needed. Keep sourdough starters fresh for optimal rise. Experiment with recipes by tweaking ingredients or adding mix-ins like herbs or nuts. Schedule regular maintenance to ensure your bread maker performs at its best. Observe each cycle to understand the process deeply. Avoid overmixing dough to prevent dense loaves. Let bread cool completely before slicing for the best texture. Finally, embrace creativity and patience—mastering bread making is a journey. Happy baking!
7.2 Encouragement to Experiment and Share Recipes
Don’t be afraid to explore beyond the basics—bread making is an art that thrives on creativity! Try substituting ingredients or adding unique flavors like herbs, spices, or nuts to create personalized recipes. Share your creations with family and friends, and consider exchanging tips online with fellow bakers. Join bread-making communities to inspire and be inspired by others. Remember, every loaf tells a story, and your experiments could become someone else’s favorite recipe. Keep baking, sharing, and enjoying the process of creating something delicious and meaningful. Happy experimenting, and let your bread maker be your partner in culinary innovation!